How to Gua Sha with Dollar Hippy
Club!
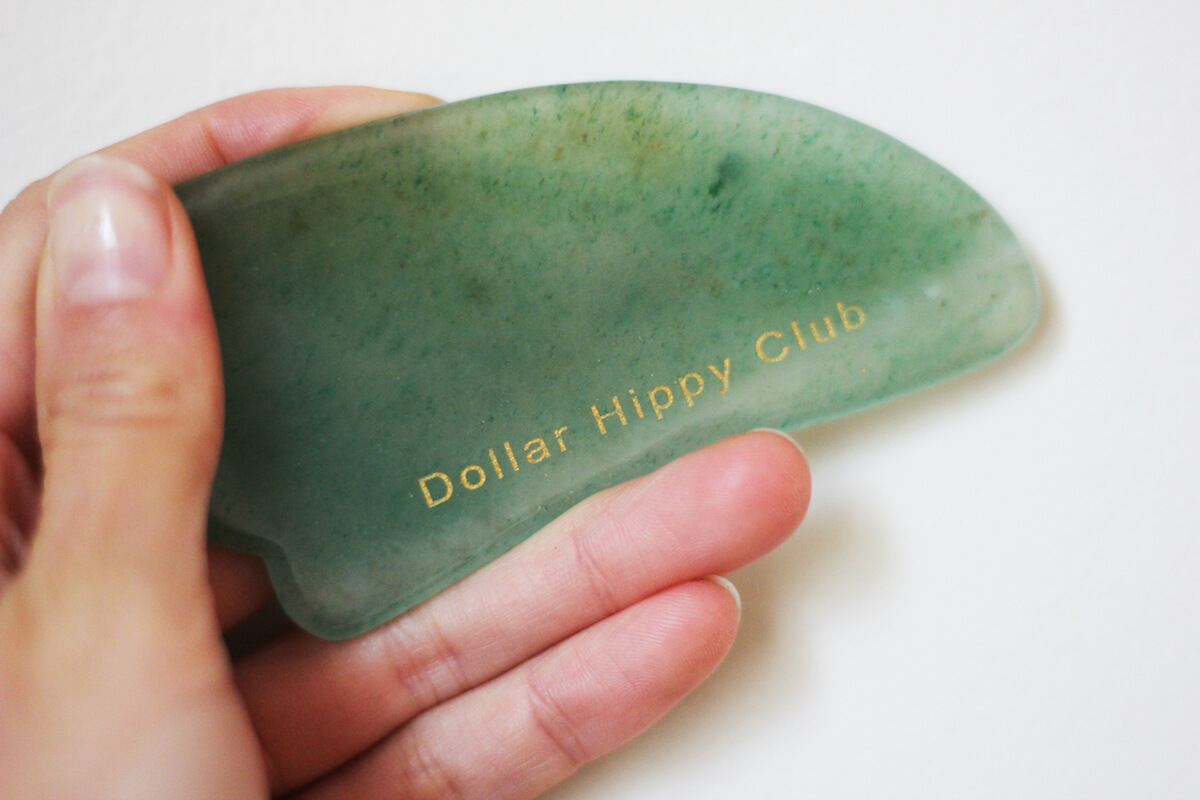
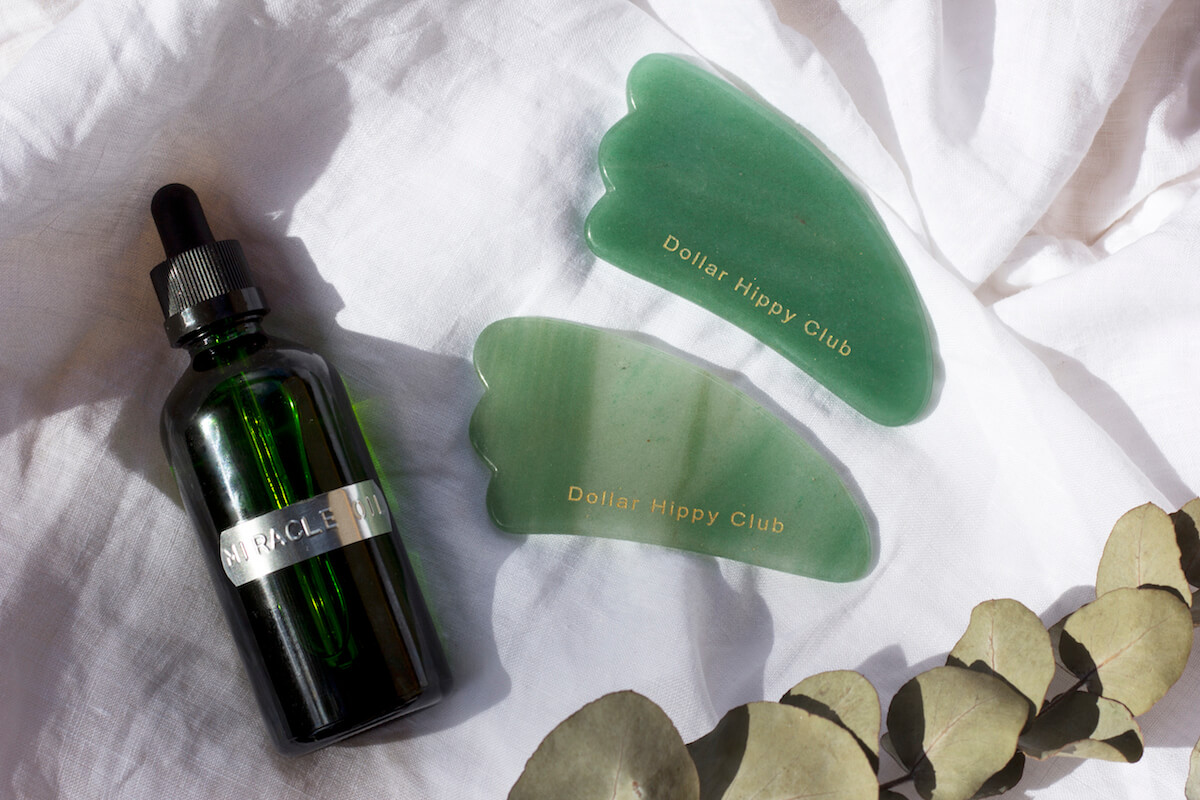
As you know we have just introduced our traditional jade Gua Sha to the Dollar Hippy Club range. We love the therapeutic effects of this traditional skincare tool – think lymphatic drainage, increased blood flow and overall skin health, but we also love the mindfulness element attached to taking 5 minutes to perform your gua sha routine at home.
All of our gua shua are deliberately made with jade. Jade is the traditional stone that has been used to make this Eastern medicine tool for hundreds of years – you will know your jade is the real deal if you can see beautiful textures through the tool. Each and every DHC Gua Sha will vary in colour and shape ever so slightly (we know this because we cleanse and bless each and every one before they land with
you).
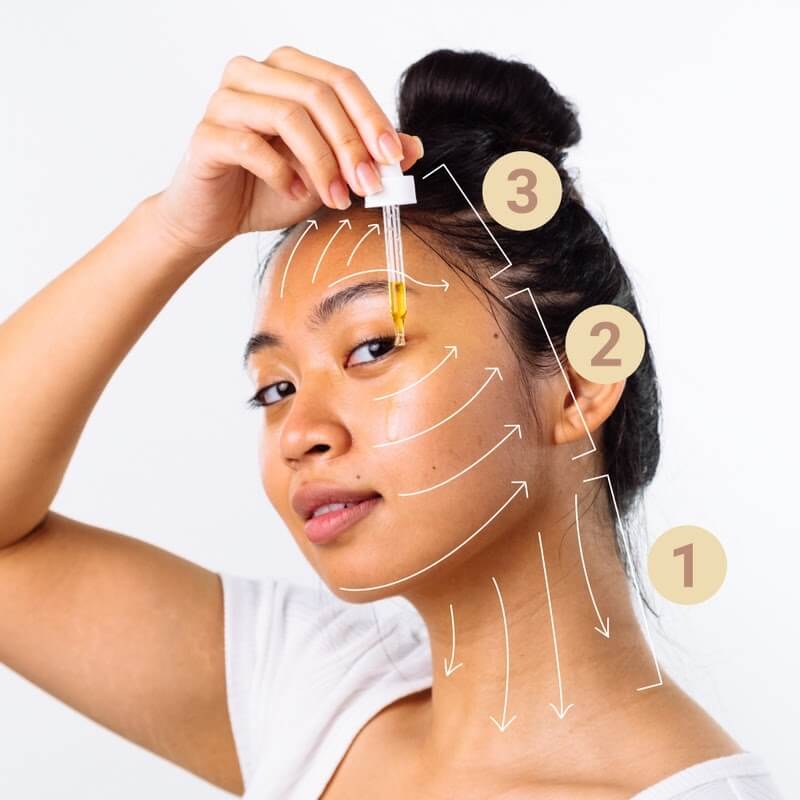
First of all, we don’t want to see or hear about anyone dragging their gua sha back and forth across their face like it’s some kind of roller paint brush. Gua Sha, when used on your face, should focus on movements that work from the centre outward, or if being used on the neck, working upward from the base of the neck toward the chin. In essence, moving away from the heart.
As a naturally sculpting and defining tool, the gua sha encourages collagen production and works to assist in the draining of inflammation in the skin and muscles. With circulation increased, you should also start to see your skin develop a more natural radiance as the gua sha sends much needed nutrients to previously deprived areas.
While you may be thinking “hell yes” for the face, we can assure you, your inner most organs are also thanking you and your gua sha loving ways. Through the exercises being applied to the face, the bodies meridian lines are awakened and hence, your liver, spleen, kidney, heart and gut are getting some major love too. In the same way you purge yourself with a green juice after one too many red wines on a Saturday night, your gua sha facial workout is also doing wonders for your organs. Note: We don’t condone overdrinking, but we know that sometimes the night gets away from you and good times with friends can, on occasion, lead to one too many. No judgement here!

So how to gua sha?
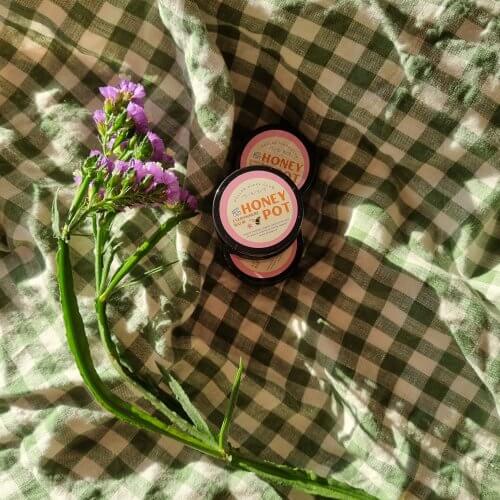
Cleanse both your face and hands – we recommend a warm cloth with our Honey I’m Home Cleanser before patting dry with a soft towel. Apply a quick spritz of The Tonic, before following with the application of our Miracle Oil. Here’s a little tip – do not keep your gua sha in the fridge. The gua sha actually works better when warmed up slightly, so rub between (clean) palms, before using on the face. Take a few minutes to massage your Miracle Oil, using your fingers, into the face. While the skin is still slick with Miracle Oil, take your slightly warmed up gua sha and treat it to a little Miracle Oil of it’s very own. It gives the tool a nice slip when used on the face.
Neck
Take your gua sha and start from the bottom of your neck, sweeping your gua sha gently down away from your chin. Break the neck out into thirds (left, middle and right), and complete this upward motion at least three times across each area.
Face
As you move toward the face, keep your tool relatively flat – approximately 15 degrees to the skin and again, move your gua sha from the jawline outwards toward the earlobes. Complete on both sides of the face (and again, three times in each section). If you have ever experienced sinus issues, you know that a lot of fluid can get stuck underneath your cheekbone – this is an incredible place to focus your gua sha efforts.
Move your gua shua from just underneath your cheekbone out toward your hair line.
Eyes
Ok so now, under your eyes. The skin under your eyes is approx. 2mm thick – in other words, v. delicate and needing much TLC. Sweep (oh so gently) from the innermost corner of the eye to the hairline, before moving onto the eyebrow. Here you will sweep out to the hairline, up from the brow bone. Take your time here and almost break the eyebrow up into sections.
Lips
Moving your gua sha upwards in the upper lip area (to under your nose) and downward, underneath your lower lip, is a must in your gua sha routine. We all hold (often unknowingly) tension around our mouth and jaw, so concentrated movements in this area will even plump up and fill your lips, while simultaneously relieving muscle tension. Mwah!
Forehead
Now the forehead – again, break this up into sections, moving the gua sha from just above the eyebrows out to the hairline. To stimulate the skin beyond the hairline, feel free to go nuts and use the gua sha across the scalp. Once completed on one side, take a step back and note the difference in the overall quality of the skin. Ok, now on to the other side.
We always say gua sha at least three times per section of the face – you can do more, but try not to do less – and if your tool drags at all, a little drop of Miracle Oil will assist in creating that little extra slip.